
Proper siding installation is crucial for the aesthetic appeal and durability of your home. A seamless, well-installed siding not only enhances curb appeal but also protects your home from the elements. However, several common mistakes can compromise the quality of your installation. In this article, we’ll explore seven common siding installation mistakes and how to avoid them, ensuring a flawless finish.
1. Skipping the Surface Preparation
Mistake: One of the most common errors in siding installation is neglecting proper surface preparation. Failing to clean or repair the underlying surface can lead to poor adhesion and reduced lifespan of the siding.
Solution: Ensure the surface is clean, dry, and free of debris before installation. Repair any damaged areas and address issues like mold or rot. For more detailed preparation steps, refer to our Surface Preparation Guide.
2. Incorrect Measurement and Cutting
Mistake: Inaccurate measurements and cutting errors can result in poorly fitting panels and gaps. This can lead to aesthetic issues and potential water infiltration.
Solution: Double-check your measurements before cutting. Use a high-quality measuring tape and saw to ensure precise cuts. For tips on measuring and cutting siding panels accurately, see our Measurement and Cutting Tips.
3. Ignoring Manufacturer’s Instructions
Mistake: Each siding material comes with specific installation guidelines provided by the manufacturer. Ignoring these instructions can lead to improper installation and warranty issues.
Solution: Always follow the manufacturer’s installation guidelines for the siding you’re using. Review the instructions thoroughly before beginning the installation. For detailed manufacturer guidelines, check out our Siding Manufacturer’s Installation Guide.
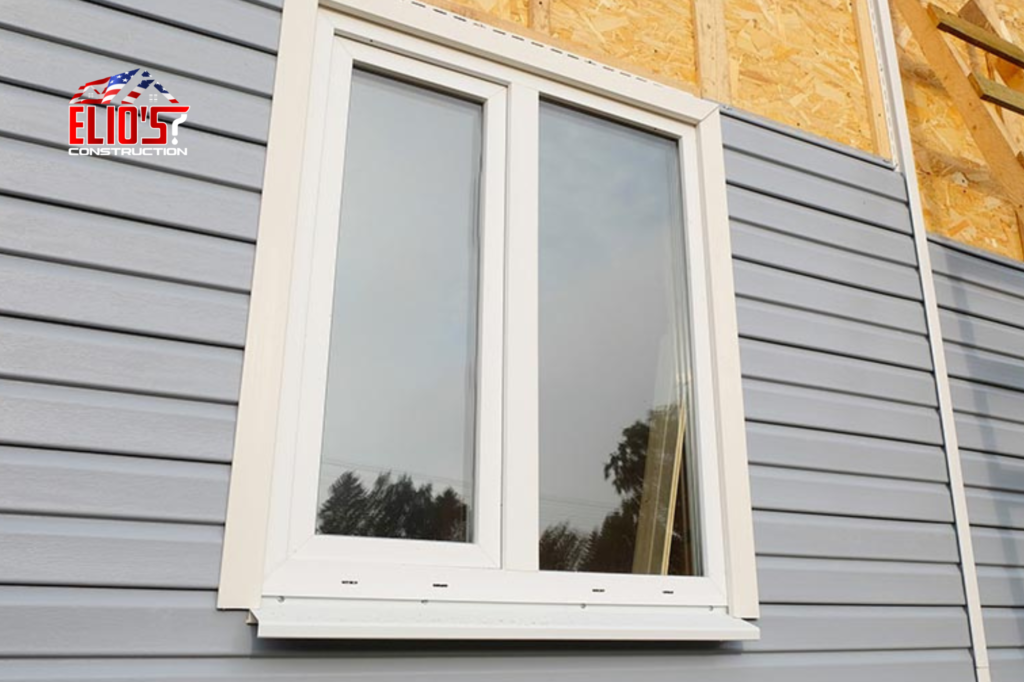
4. Improper Flashing Installation
Mistake: Flashing is essential for directing water away from vulnerable areas like windows and doors. Incorrect flashing installation can lead to leaks and water damage.
Solution: Install flashing according to the manufacturer’s recommendations, ensuring it’s properly integrated with the siding and overlaps correctly. For a comprehensive guide on flashing installation, visit our Flashing Installation Tips.
5. Inadequate Ventilation
Mistake: Poor ventilation can cause moisture buildup behind the siding, leading to mold growth and structural damage. This is often overlooked but is crucial for maintaining a healthy home.
Solution: Ensure proper ventilation by installing vents and leaving gaps where necessary. Consult with a professional if you’re unsure about the ventilation requirements for your siding type. Learn more about Siding Ventilation Solutions.
6. Failing to Use Proper Fasteners
Mistake: Using incorrect or insufficient fasteners can lead to siding panels becoming loose or shifting over time. This can affect the siding’s appearance and performance.
Solution: Use the recommended fasteners for your siding installation and material method. Ensure they are installed at the correct spacing and depth. For guidance on selecting and installing fasteners, refer to our Fastening Tips for Siding.
7. Overlooking Sealing and Caulking
Mistake: Failing to seal and caulk joints and seams properly can result in gaps that allow water infiltration and compromise the insulation.
Solution: Apply caulk and sealant as recommended, focusing on all joints and seams. Ensure the sealant is suitable for your siding material and climate. For tips on effective sealing and caulking, see our Caulking and Sealing Guide.
Avoiding these common siding installation mistakes will help ensure a seamless and durable finish for your home’s exterior. Proper preparation, accurate measurements, and attention to detail are key to a successful siding installation. For more expert advice and home improvement tips, subscribe to our Home Improvement Blog and stay updated with the latest insights and techniques.